Benchtop Injection Mold Machine
Make: Galomb, Inc
Model: B-100
Website
Instructional Videos
- Demo Video from University of Kentucky
- Demo Video from manufacturer
Applications
- Animators using Fusion 360, Form 3, and benchtop Injection molder
- 3D printed injection mold of a character design
Prepare Mold
- Design mold in CAD program
- 3D print mold or route with a CNC mill.
- Make sure to include vent grooves in the mold so that air can escape during injection.
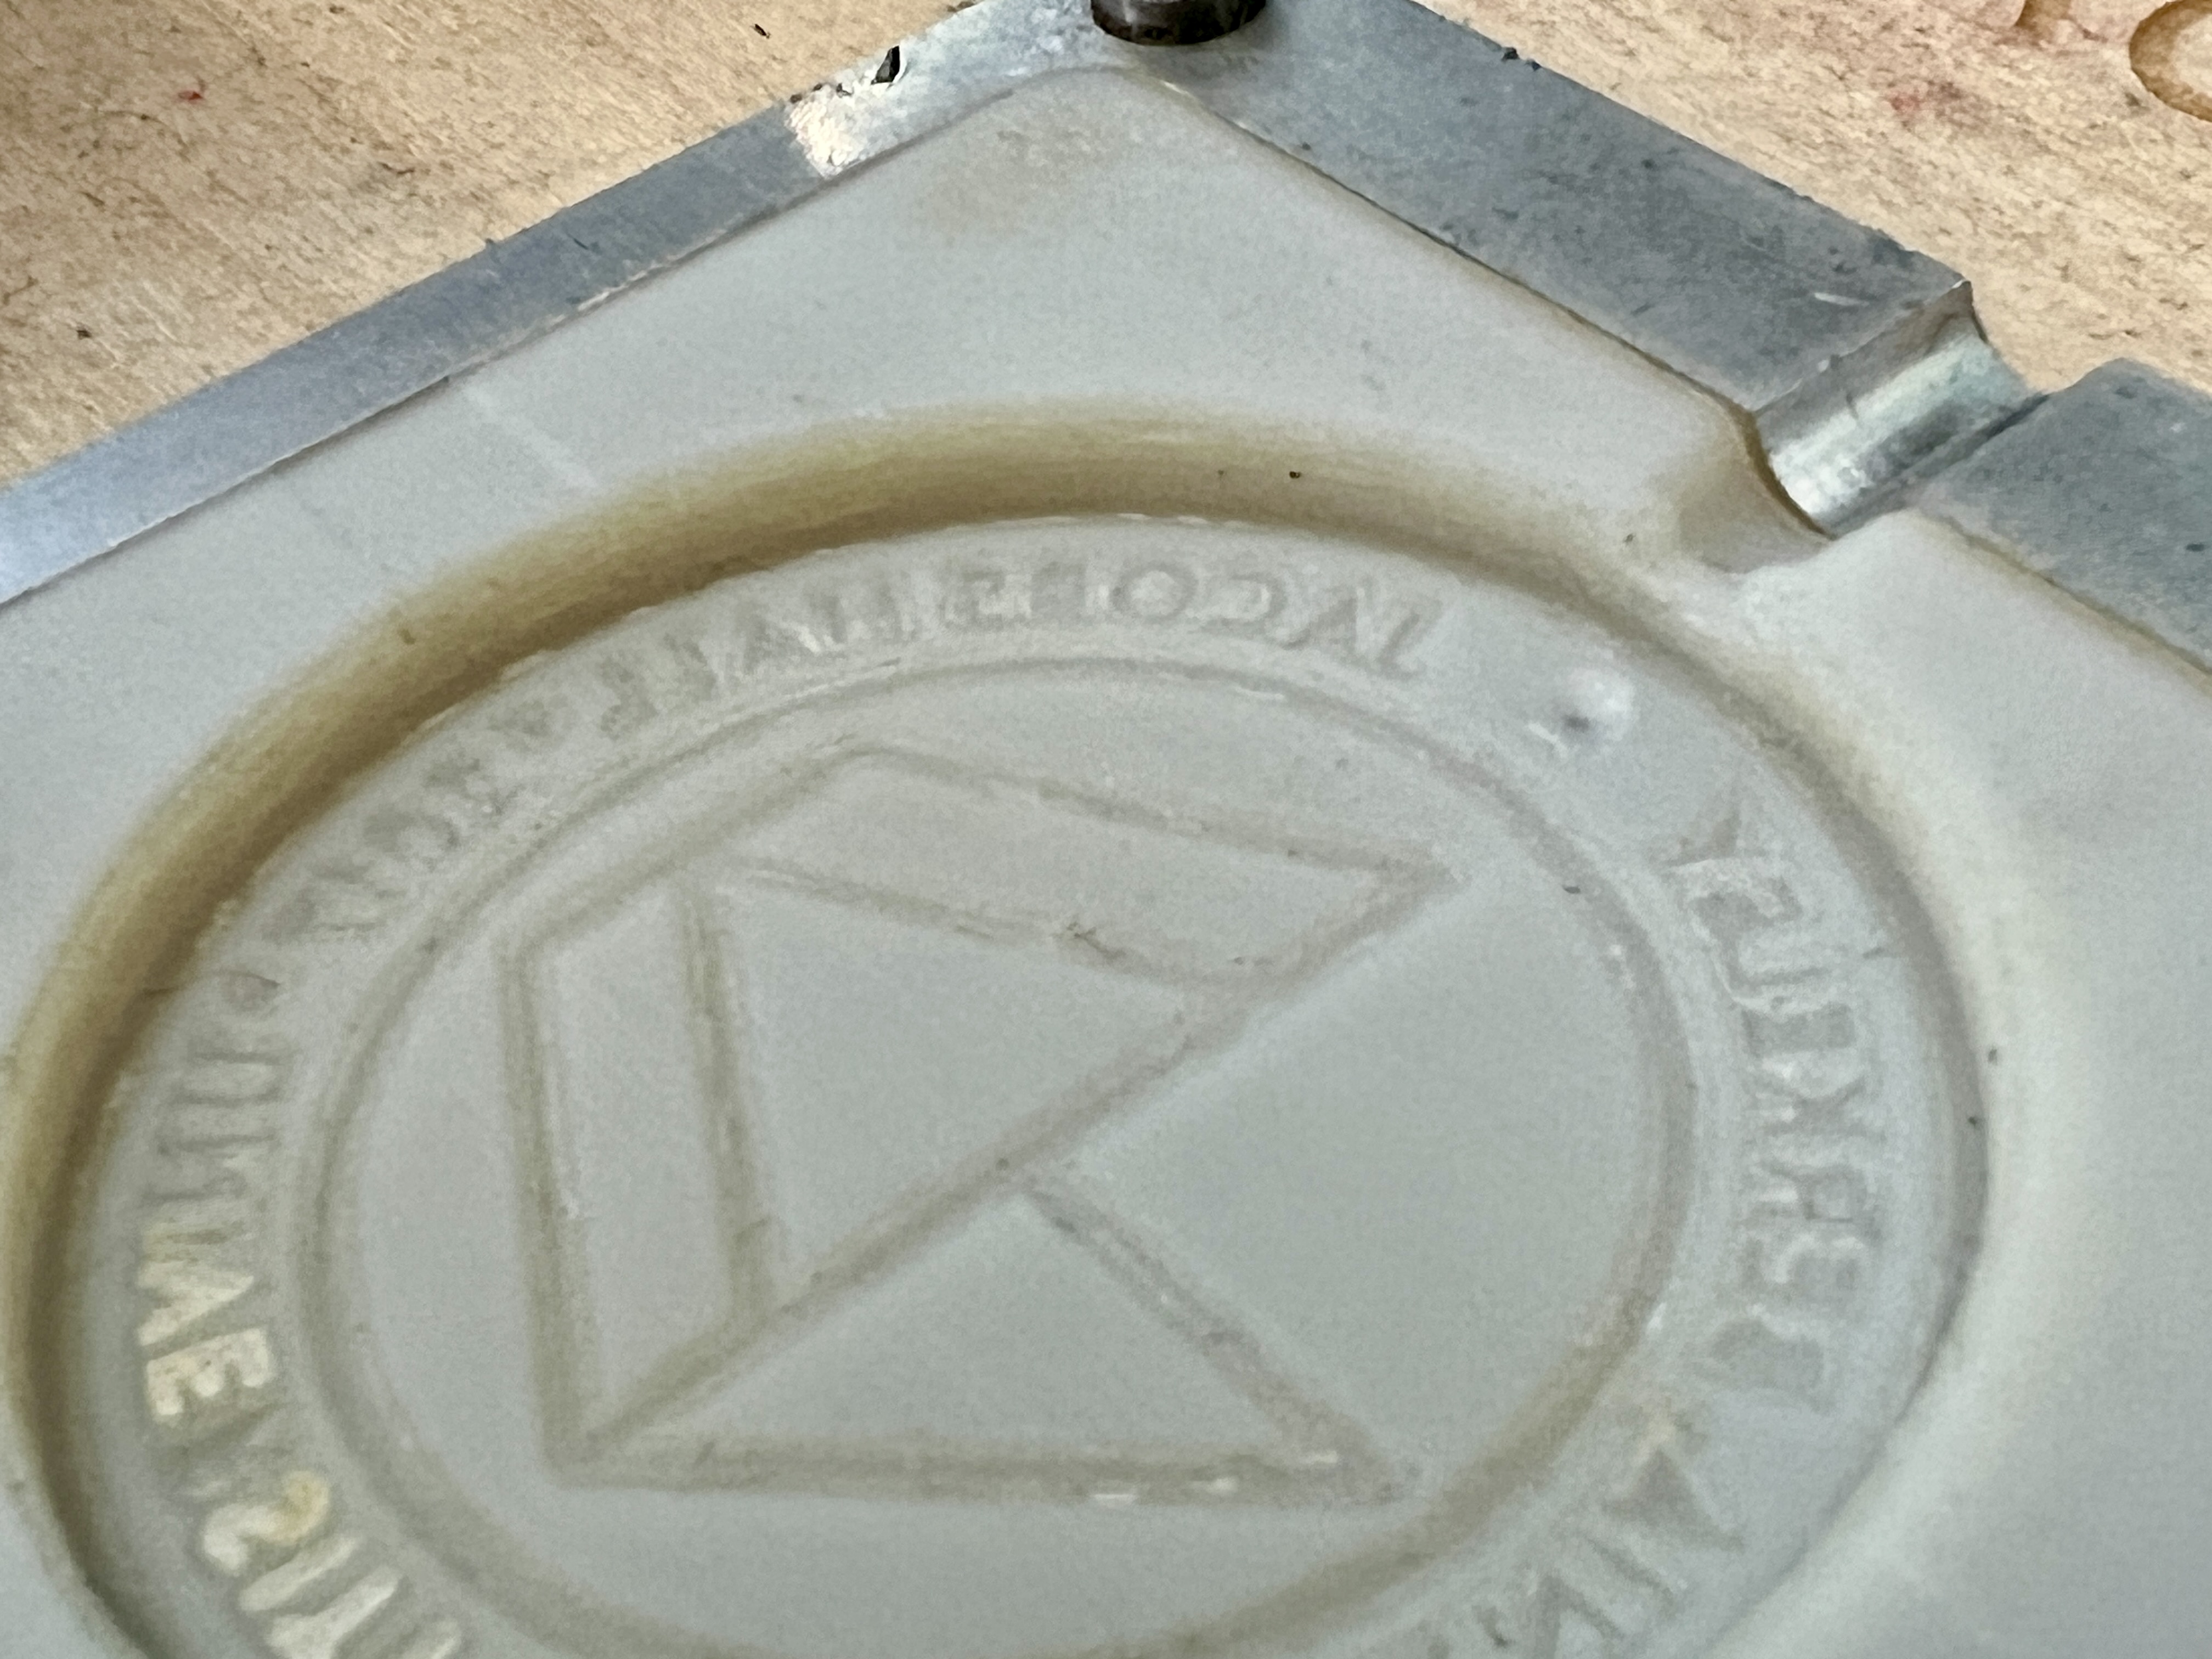
Vent grooves in the 3D printed mold insert (upper left corner).

Vent grooves machined into this CNC milled mold, about .010 inch depth
- Make sure to include vent grooves in the mold so that air can escape during injection.
Running injection molder
- Machine should be mounted on a surface for stability.
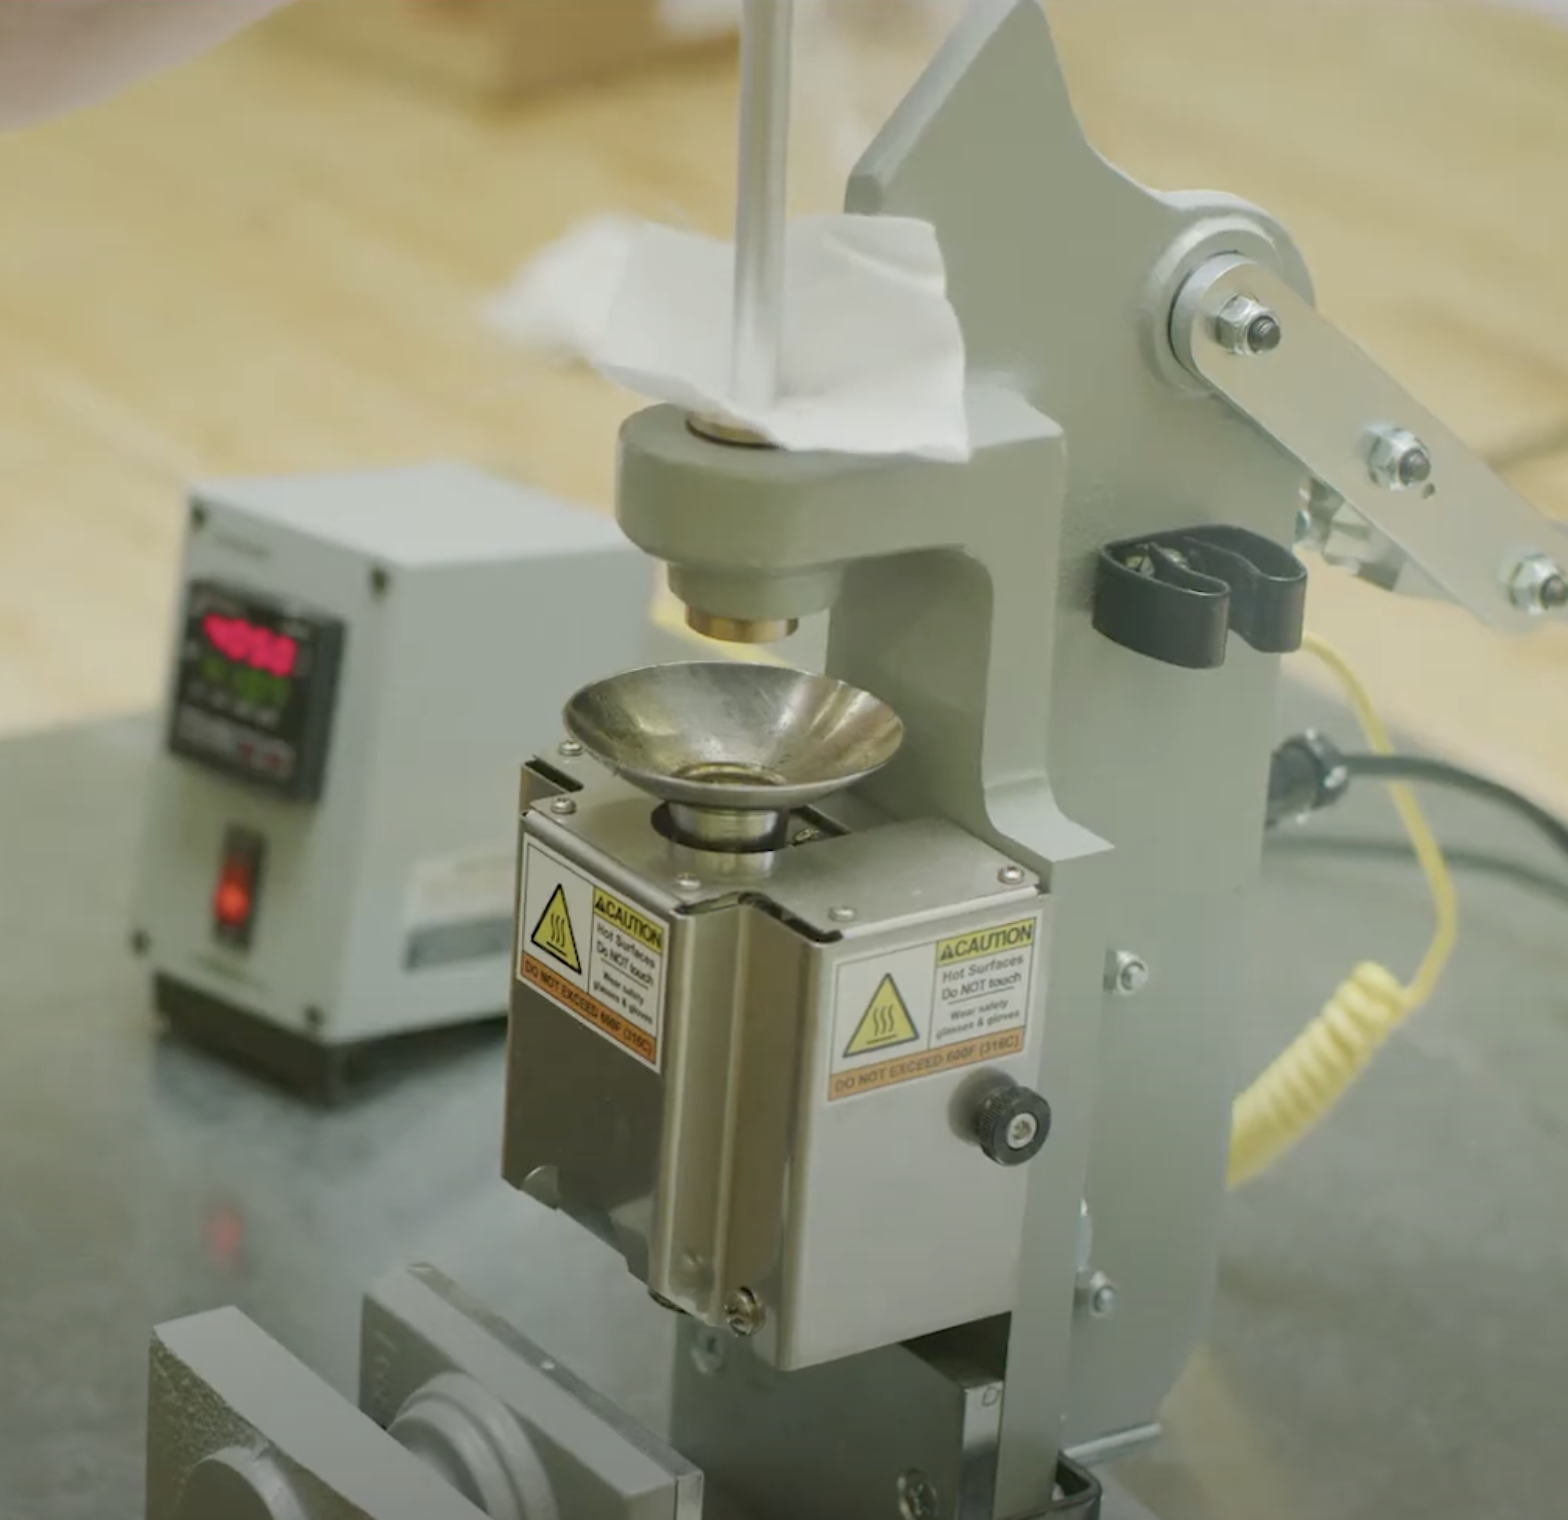
- Turn on controller and B-100 power switches.
- Set the temperature and wait a few minutes for the temperature to be reached.
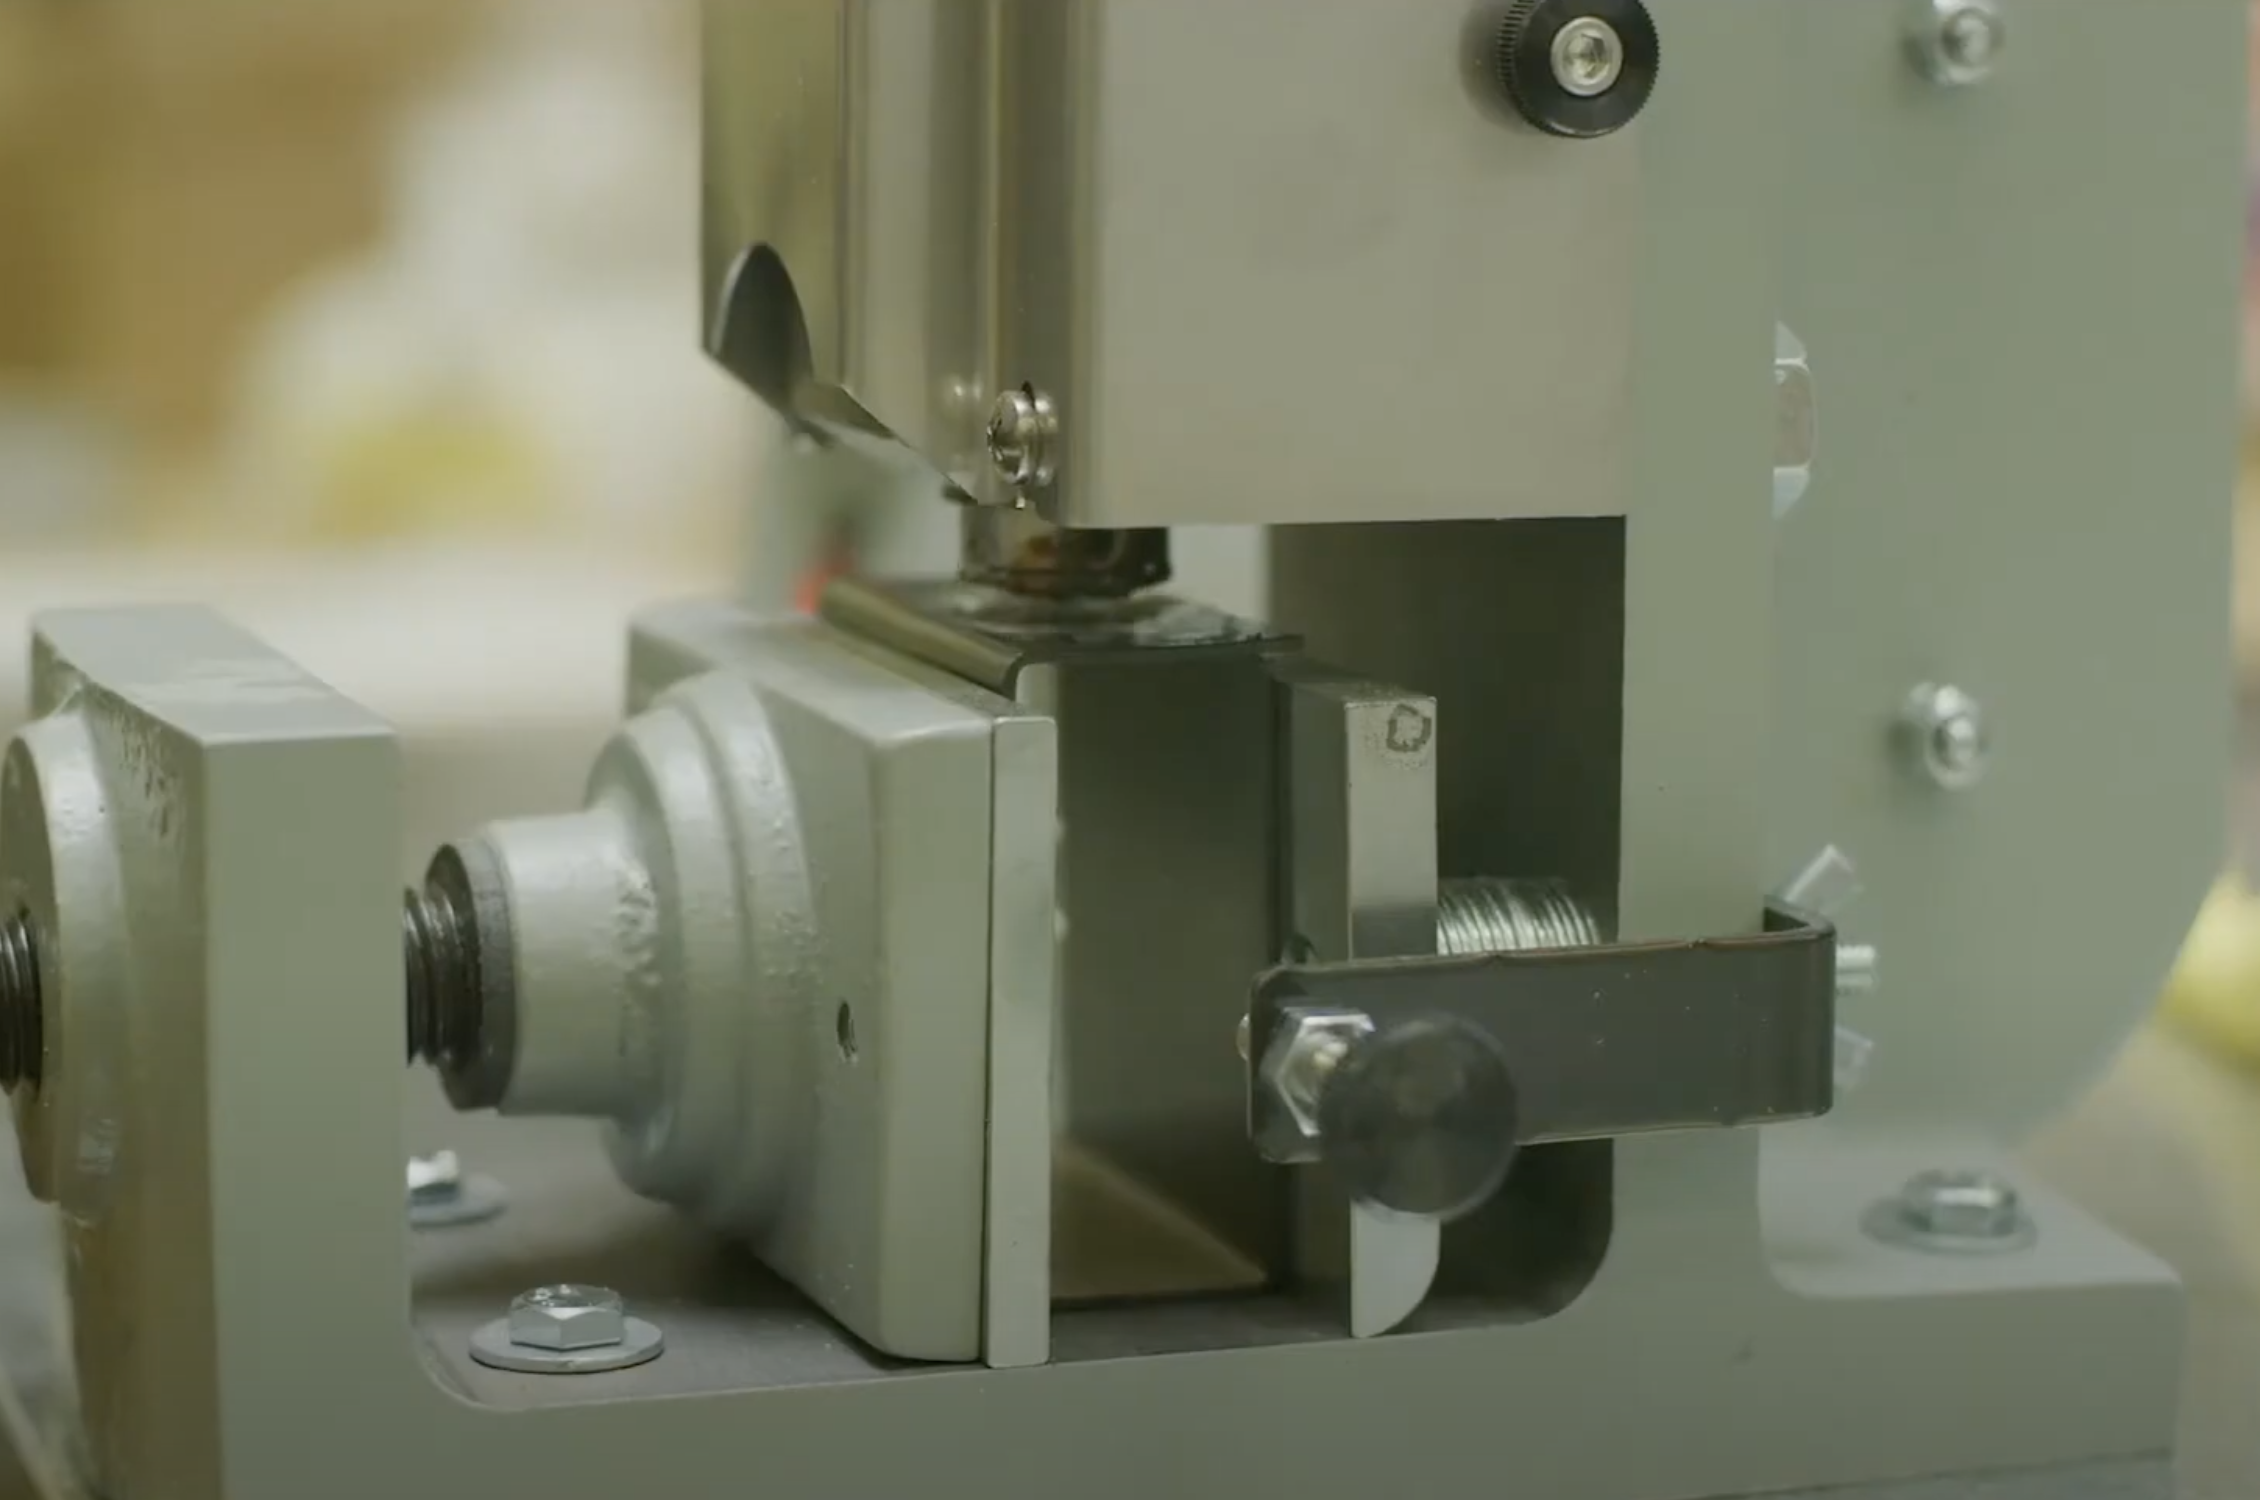
- Place mold in clamp and tighten vice.
- Pour in plastic pellets.
- After then have completely melted, pull down the handle to inject the molten plastic.
- When the mold cavity is full, lift the handle back up until it locks in place.
- Loosen the vice and remove the mold from the clamp.
Cleanup
- Load the purge block into the clamp.
- Pull the handle to purge any remaining plastic.
Thorough Cleaning
- Pull cotter pin connecting the handle to the plunger.
- Push the handle back behind the machine.
- Pull the plunger upwards out of the machine.
- Wrap a cleaning cloth around the end of the cleaning rod and plunge it into the feed tube.